Making a Net Scenario In 19 Easy Steps (and 95 sub-steps)
This tutorial will show how to make a very simple net scenario using the built-in ships.
The scenario will consist of two planets and two cruisers, one of each for each of the two net players. The planets will be able to construct transports and cruisers.
Whichever player captures the other's planet wins.
1. Launch Hera
2. From the File menu, select Open...
3. Navigate to the Hera stationery folder. Open the Factory Blessed Objects stationery; this stationery includes the factory versions of the four required blessed objects
4. Hera will prompt you to save the file (it needs to make a working copy of your new scenario file based on the stationery you opened); choose a location and name the file Tutorial 1
5. A new Main Window will appear, titled Hera: Factory Four Blessed Objects
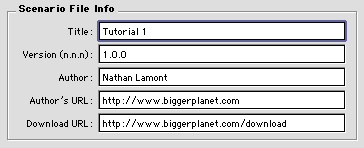
A. In the Title text field, enter Tutorial 1
B. In the Version field, enter 1.0.0
C. In the Author field, enter your name
D.You can leave the two URL fields as they are
 |
| the new Main Window fields should look something like this |
A. Bring the factory Main Window, titled Hera: Ares to the front. Click on the Edit Objects button in that window

here's the Edit Objects button in the Main Window
C. Bring the Main Window for the file you just created, titled Hera: Factory Four Blessed Objects, to the front. Click on the Edit Objects button in that window

there will be two Object Editors open; one for the factory scenarios and one for your new tutorial scenario
D. Click on the Object Editor window for the factory scenarios, titled Factory Scenarios: Choose ObjectE. Click on the Sort By pop up menu and select Class if it's not already selected

selecting Class from the Sort by menu
F. Scroll up or down until you find the Planet object. The planet object has a class of -1, so it is listed alphabetically with all other objects with a class of -1. It has an ID of 23. Select it in the list.
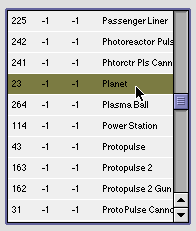
selecting the planet object from the list when it's sorted by class; objects of the same class are sorted alphabetically; non-ship objects, like planets and weapons, should always have a class of -1
G. Select Copy from the Edit menu.H. Bring the Object Editor window for your new scenario file, titled Tutorial 1: Edit Objects, to the front.

make sure you're looking at the right object editor I. Click on the object list to the left. It must have the focus (be highlighted with an outline).
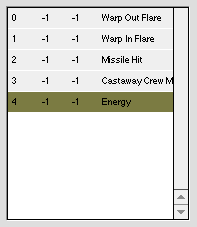
WRONG -- the object list is not highlighted; you can't paste objects into it
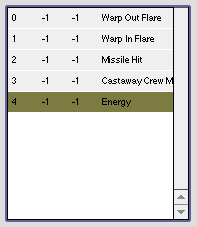
RIGHT -- the object list is highlighted; if you copied an object from another scenario, you can now paste it
J. Select Paste from the Edit menu. The planet object gets pasted in to the object list.K. Repeat steps 6D through 6J for each of the following objects:
1. Ishiman Cruiser (ID 0, class 200, race 100)
2. Cantharan Cruiser (ID 7, class 200, race 200)
3. Ishiman Transport (ID 24, class 800, race 100)
4. Cantharan Transport (ID 25, class 800, race 200)
Don't be surprised when various objects appear in the object list when you're pasting -- Hera automatically copies all the supporting objects a given object requires, such as its weapons and the shots they create
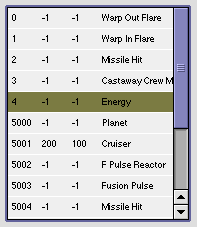
various objects like weapons, shots and explosions get automatically pasted in
7. Those are the only objects you will need for this tutorial; click OK in both of the Object Editors to close them
8. Bring the Main Window for your new scenario file to the
front. The window will still be titled Hera: Factory Four
Blessed Objects. Click the Edit Scenarios... button.
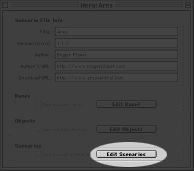 |
| here's the Edit Scenarios button in the Main Window |
 |
| the Add button in the Scenario Editor |
Number of players: 2
Chapter name: \i Tutorial 1 [space, return] \i
Par ratio: 0
Par kills: -1
Par losses: 0
Par time: 0
Start time: 0
Song id: 5001
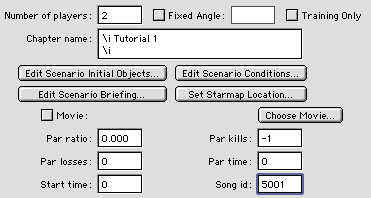
the topmost fields in the scenario editor should now look like this
11. Select Player 1 Settings from the player settings pop up menu
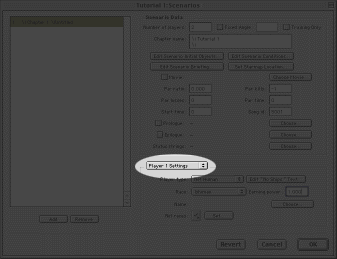
this is the Player Settings menu; you have to specify the settings for each player in a scenario, one at a time

selecting Player 1 Settings from the Player Settings menu
A. Select Net Human from the player type pop up menu

selecting Net Human from the player type pop-up menu
B. Select Ishiman from the Race pop up menu

this menu sets the default race for net scenarios; in single player scenarios, it sets the only race for the player; only one race can be selected from this menu
C. Enter 1.0 in the earning power text fieldD. Check Ishiman and Cantharan from the Net races pop up menu; make sure no other races are checked

the Net Races menu allows multiple races to be selected; make sure Ishiman and Cantharan are both checked -- and make sure nothing else is checked
E. Click the Edit No Ships Text... button

click this button to open the TEXT editor 1. The TEXT Editor dialog box will appear. Enter the text Player 1 has no ships and loses.
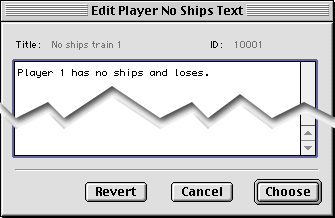
enter the text as shown
2. Click ChooseF. Select Player 2 Settings from the player settings pop up menu, and repeat steps 11A through 11E2, replacing the text Player 1 with the text Player 2.
12. Now you will set up the initial objects for the scenario
-- the objects which will appear when the scenario begins; for
this tutorial, there will simply be two planets and two ships,
one of each for each player; click on the Edit Scenario Initial
Objects... button
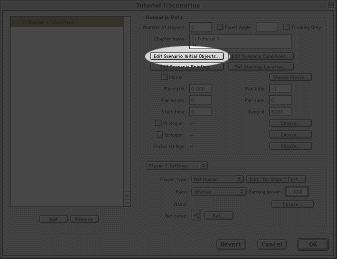 |
| this is the Edit Initial Objects... button in the Scenario Editor |
A The Initial Editor will appear, titled something like Tutorial 1: <0> Tutorial...: Initial Objects. The <0> indicates that it's the first scenario; a <1> would mean the second scenario, <2> the third and so on
B. Click the Add button at the bottom of the Initial Objects list; you're going to add a planet which will belong to player 0.
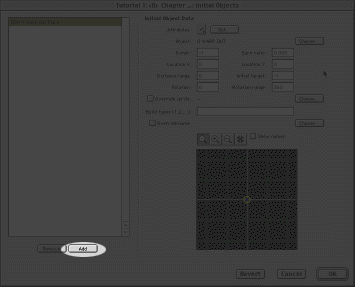
here is the Add button in the Initial Object Editor C. Click the Choose... button on the same line as the Object field; the Object Editor will appear
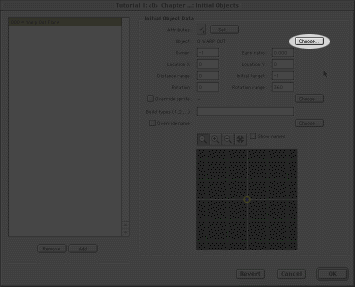
this is the Choose button for choosing the initial object type
D. In the Object Editor, select the planet object and clickOK. It may help if you select Sort By Name in the Sort By pop up menu; the Object Editor will close
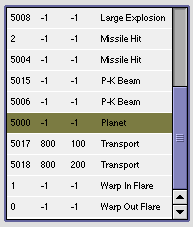
selecting the planet when the object list is sorted by name
E. Enter the following values for the first four editable fields:Owner: 0
Earn ratio: 1.0
Location X: 0
Location Y: 4000
Leave the other fields as they are
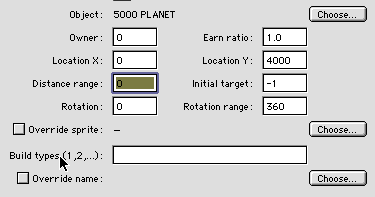
the topmost fields should now look something like this
F. In the Build types field, enter 200, 800 (don't include the quotes, but do include the comma); this tells Hera that the planet is capable of building ships of class 200 (cruisers) and 800 (transports)

this numbers indicate ship classes
G. Check the Override name checkbox; the STR# Editor will appear; you're going to add the names of both the planets for this scenario, and select one of them to be the name for this planet1. Click the Add button underneath the STR# list (not the Add String button)
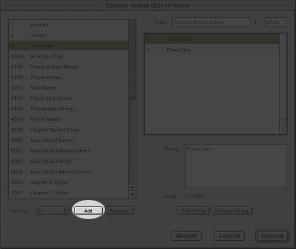
the Add button in the STR# Editor -- this button is for adding a new empty list of strings
2. Tab to the Title field; enter Tutorial Planet Names3. Tab to the ID field; enter 6500
4. Now click the Add String button
5. The String field will be highlighted; enter Planet Zero
6. Click the Add String button again; the Planet Zero string will be duplicated
7. In the String field, replace the duplicate Planet Zero text with Planet One
8. Click on the first string in the String list, Planet Zero
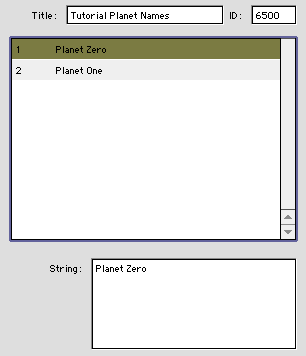
the STR# Editor should look something like this before you click Choose
9. Click the Choose button; the STR# editor will closeH. Now you're going to create another planet belonging to player 1; in the Initial Object Editor, click the Add button; the first planet you created will be duplicated
I. Change the Owner field to 1, and the Location Y field to -4000

these Initial Editor fields should look something like this for the second planet
J. Click the Choose... button next to the Override name field; the STR# Editor will appear; because this planet is a duplicate of the first, it will have the same String selected1. Choose Planet One from the String list.

selecting the name for the second planet in the STR# Editor
2. Click the Choose button; the STR# editor will closeK. Now you're going to add the player's initial ships; Click the Add button in the Initial Object Editor; the second planet will be duplicated
L. Click the Choose... button next to the Object field; the Object Editor will appear
M. In the Object Editor select the cruiser (class 200) with a race of 100; it may help if you sort by race or by class; click OK; the Object Editor will close
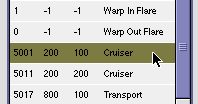
selecting the specified cruiser from the object list, sorted by class
N. Check the IsPlayerShip option in the Attributes pop up menu. Make sure no other options are checked
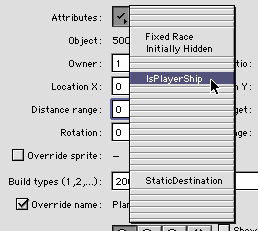
checking the IsPlayerShip option -- this indicates that this is the initial object which will be occupied by the human player
O. Enter the following values:Owner: 0
Earn ratio: 0
Location X: 200
Location Y: 4000
Build types: delete any text here and leave blank
Leave the other values as they are
P. Uncheck the Override name checkbox
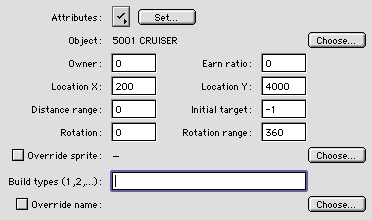
the topmost fields should look like this for the first ship
Q. Now you're going to make the other player's ship; click the Add button, and the first player's ship will be duplicatedR. Change the Owner to 1, and the Location Y field to -4000; leave everything else as it is
S. Click OK and the Initial Object Editor will close
13. Now you will set up the conditions for the scenario; this
scenario will have two conditions -- if either player loses their
planet, the other player will win; click on the Edit Scenario
Conditions... button in the Scenario Editor
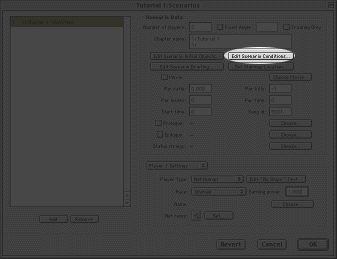 |
| here's the Edit Scenario Conditions button in the Scenario Editor |
A. The Condition Editor will appear, titled something like Tutorial 1: <0> Tutorial...: Conditions; click the Add button
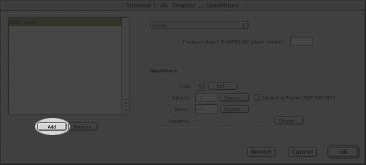
this is the Add button in the Condition Editor
B. From the Condition pop up menu, select Owner
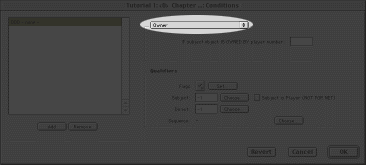
this is the condition pop-up menu
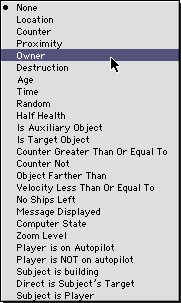
selecting the Owner condition from the Condition pop-up menu
C. Enter 1 in the IF subject object IS OWNED BY player number fieldD. In the Subject field in the Qualifiers box, enter 0
E. Click the Choose... button next to the Sequence field; the Action Editor will appear
1. An arbitrary sequence will be selected; click the Add Sequence button to duplicate the sequence
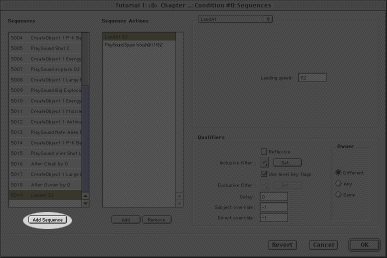
the Add Sequence button duplicates the selected sequence, including all of its actions 2. Delete all of the actions in the duplicated sequence; you don't need them
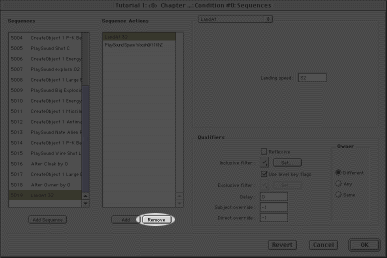
delete the actions in the duplicated sequence with the Remove button here 3. Click the Add button beneath the Action list; a new action will be created
4. Select DeclareWinner in the Action pop up
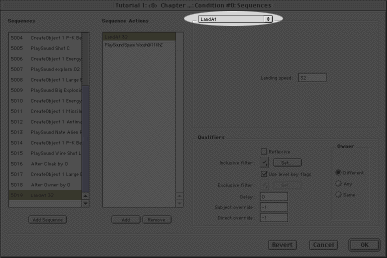
this is the Action pop up menu; it determines what action will be performed
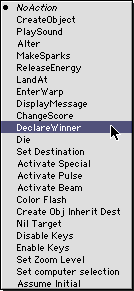
select DeclareWinner from the Action pop up
5. In the Which player field, enter 1; this indicates that player 1 will be the winner6. In the Next level field, enter -1; this indicates that there is no next level (net scenarios can't have next levels)
7. Press the Select... button next to the Result 'TEXT' resource ID field; you're going to create the text the users see when the winner is declared; the TEXT Editor will appear
a. Click the Add button; whatever text is arbitrarily selected will be duplicated
b. Tab to the Title field; enter Net Level 1: Player 2 Wins
c. Tab to the ID field; enter 6500
d. In the main text area, enter Player 2 captured player 1's planet.
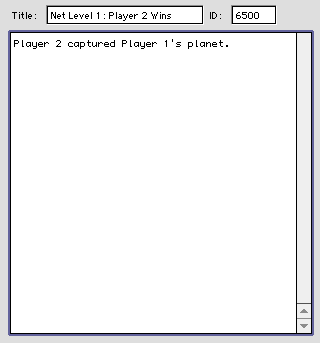
the contents of the TEXT editor should look like this
e. Click the Choose button; the TEXT Editor will close8. Make sure that the following values in the Qualifiers box are set:
Reflexive should NOT be checked
No flags in the Inclusive Filter should be checked
Use level key flags should NOT be checked
No flags in the Exclusive Filter should be checked
Delay should be 0
Subject and Direct override should be -1
Owner should be Any
9. Click the OK button in the Action Editor. The Action Editor will close
F. You should now be looking at the Condition Editor. Click the Add button to duplicate the first condition
G. Change the IF subject object IS OWNED BY player number field to 0
H. Enter 1 in the Subject field of the Qualifiers box
I. Click the Choose... button next to the Sequence field; the Action Editor will appear
1. The action sequence for the previous condition will be selected; click Add Sequence to duplicate it
2. Change the Which player field to 0
3. Click the Select button next to the Result 'TEXT' resource ID field; the TEXT Editor will appear
a. The text you created for the other action sequence will be selected; click Add to duplicate it
b. Tab to the Title field and enter Net Level 1: Player 1 Wins
c. The ID field should already read 6501; if it doesn't change it to 6501
d. In the main text area, enter Player 1 captured player 2's planet.
e. Click the Choose button; the TEXT Editor will close
4. In the Action Editor, click the OK button; the Action Editor will close

for this second sequence you've created, the fields of the Action should look like this
J. In the Condition Editor, click the OK button; the Condition Editor will close
14. You should now be looking at the Scenario Editor again. Net scenarios don't have briefings or locations on the Starmap, so you can ignore the Scenario Briefing and Starmap Location buttons
15. You will now enter the text for the description of the
net scenario that is seen in the Net Setup screen in Ares; this
is determined by the prologue text; click the Prologue checkbox;
the TEXT Editor will appear again
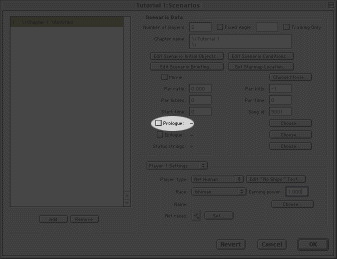 |
| this is the Prologue check box; clicking it, or the choose button on the same line, will open the TEXT Editor |
A. Click the Add button in the TEXT Editor
B. Tab to the Title field; enter Net Level 1: Description
C. Tab to the ID field; enter 6502
D. In the main text area, enter This is a simple tutorial scenario.
E. Click the Choose button; the TEXT Editor will close
16. Click the OK button in the Scenario Editor
17. Select Save from the File menu
18. To test the net scenario you've just created, both players must place a copy of it in the Ares Net Scenarios folder in the Ares folder that contains the Ares application.
19. You're done!